
Begin by learning your baseline
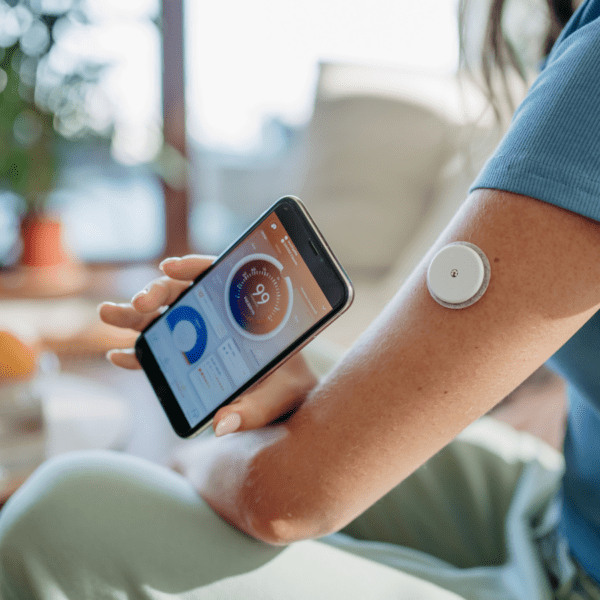
The main purpose of your first two weeks with a CGM is to establish a baseline: what do your usual glucose patterns look like? There will be time to work on changes. Start by learning what is typical for your body so that you can compare later observations with this starting point.
Notice your daytime and nighttime ranges, the size of rises after different meals, your glucose when you wake up, and how you respond to walking or other exercise.
Keep a simple observation record
Use your CGM app’s note-taking feature, if available. During the initial period, note:
- When you wake up and what your glucose shows.
- When you eat a meal, particularly a food or drink that is new to you.
- What you notice after a meal.
- When you feel unusually tired, unwell, energetic or especially good.
- When you walk or exercise and what you notice afterward.
These observations help connect the graph with the day you actually had. Part 2 explains the report and its measurements; this first-two-weeks routine gives those measurements useful context.
Keep the device’s data complete
Your CGM should be scanned at least once every eight hours. Some devices can hold only eight hours of data, so the information needs to be transmitted from the device to your smartphone for longer-term storage and analysis.
The observation checklist above gives you useful times to look at the readings as you become familiar with the device.
Watch: CGM: Alarms, what to do
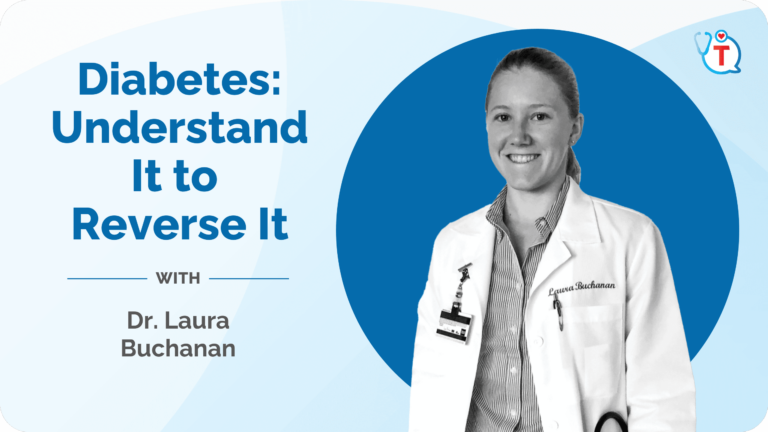
Dr. Laura Buchanan walks through an iPhone/Libre notification example. Start with her medication warning: if you use insulin, sulfonylureas or other medicines that can cause dangerously low blood sugar, she says not to turn these alerts off. Discuss alarm changes with your care team.
This recording shows an earlier app interface.
Discuss your starting range with your doctor
In the beginning, your ideal range depends on your starting point and should be determined with your doctor. If you are living with diabetes, you will likely use the first two weeks to establish a baseline and then, over time, target a lower range.
For reference, a healthy blood glucose ecosystem is considered to be one where glucose stays between 70 and 120 for 90% of the time.
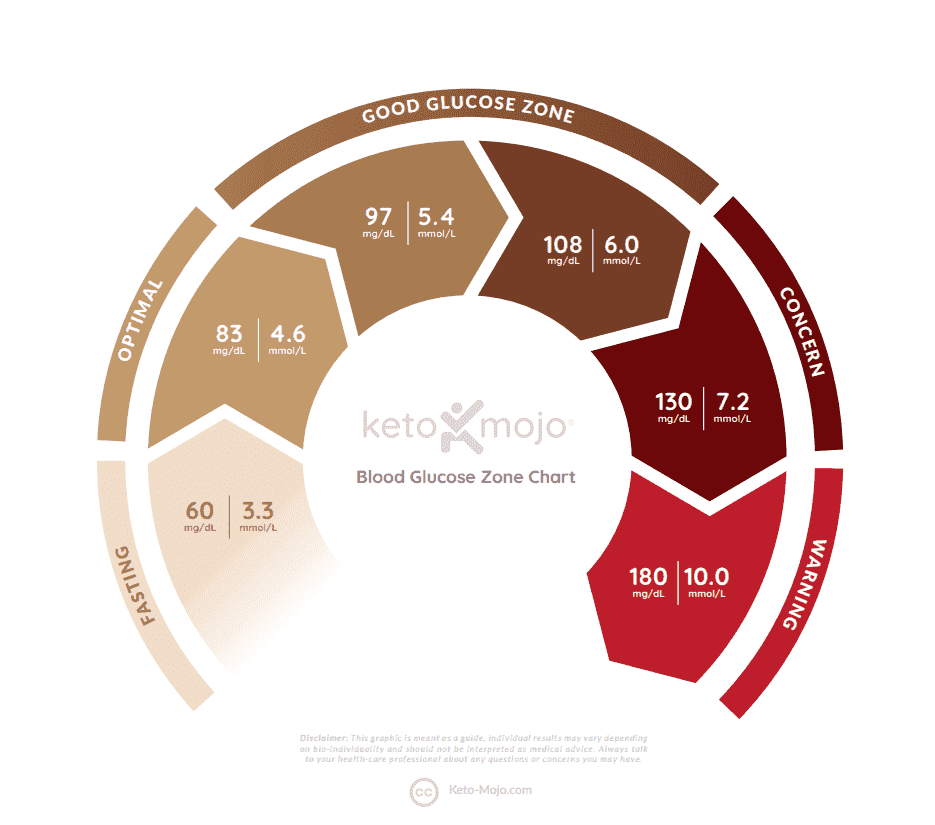
Exercise is an extenuating factor and can sometimes raise glucose outside the range even though it is healthy.
Remember that blood glucose meters have a margin of error of roughly 20–40 points. If you get very low readings, it is always best to confirm them with a finger-stick. Even with some minor inaccuracies, trends over time and immediate feedback can be valuable in understanding your health.
Bring your baseline into the next stage
Review the first two weeks with your notes alongside the glucose record. What patterns stand out? What would you like help understanding? Keep that baseline available as you begin Part 4: CGM: Moving Forward.
Watch: CGM: I Put on a CGM, Now What?
Related course: Continuous Glucose Monitors (CGMs).